bob@nbdho.com
DIY Teddy Bear: How to Make One at Home
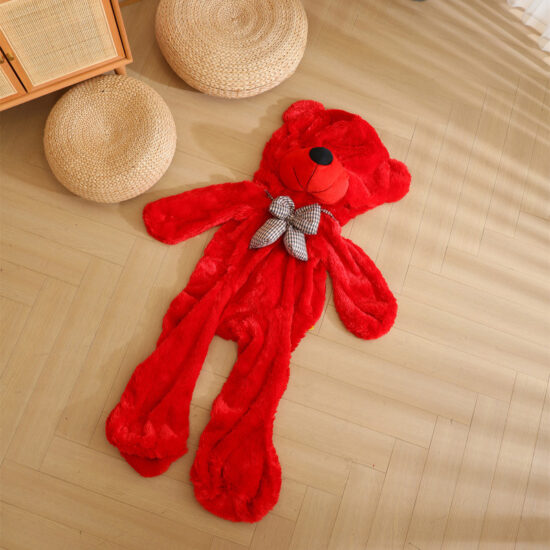
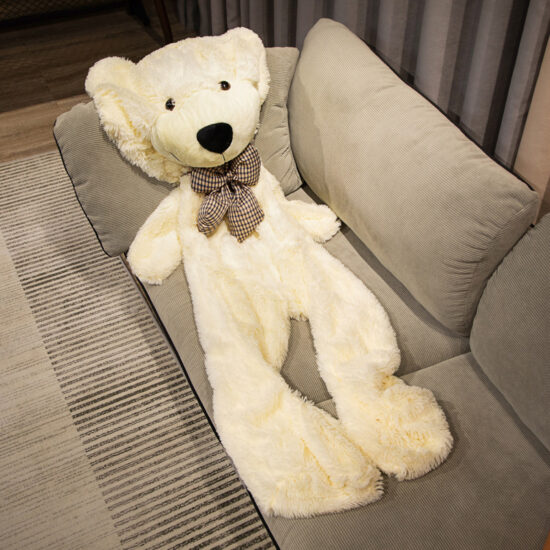
Here’s a simple guide to DIY your own teddy bear at home—fun, rewarding, and perfect for a personalized gift!
DIY Teddy Bear: How to Make One at Home
What You’ll Need:
- Soft fabric (fleece, felt, or plush fabric)
- Sewing needle and thread (or a sewing machine)
- Stuffing material (polyester fiberfill works great)
- Scissors
- Pins
- Paper and pencil (for making a pattern)
- Buttons or safety eyes (optional)
- Fabric glue (optional)
- Ribbon or fabric scraps for accessories (optional)
Steps to Make Your Teddy Bear
- Create a Pattern
- Draw your teddy bear shape on paper: front and back body, arms, legs, ears.
- Keep shapes simple if you’re a beginner.
- Cut the Fabric
- Pin the pattern pieces to your fabric and cut two of each part (front/back arms, legs, body, ears).
- Sew the Pieces Together
- Start sewing pairs (e.g., two arms, two legs) inside out, leaving one side open for stuffing.
- Turn the sewn pieces right side out.
- Stuff the Pieces
- Fill each sewn piece with stuffing until plump but still flexible.
- Assemble the Bear
- Sew the limbs and ears onto the body securely.
- Close any open seams with a ladder stitch for a clean finish.
- Add Features
- Attach eyes and nose using buttons or safety eyes.
- Embroider a mouth if you like.
- Add a ribbon or small outfit for personality.
Tips for Success
- Use soft, washable fabric for cuddly results.
- Take your time with sewing and stuffing to keep it neat.
- Personalize with your own touches—names, colors, or accessories.

